Leaking from needle seat

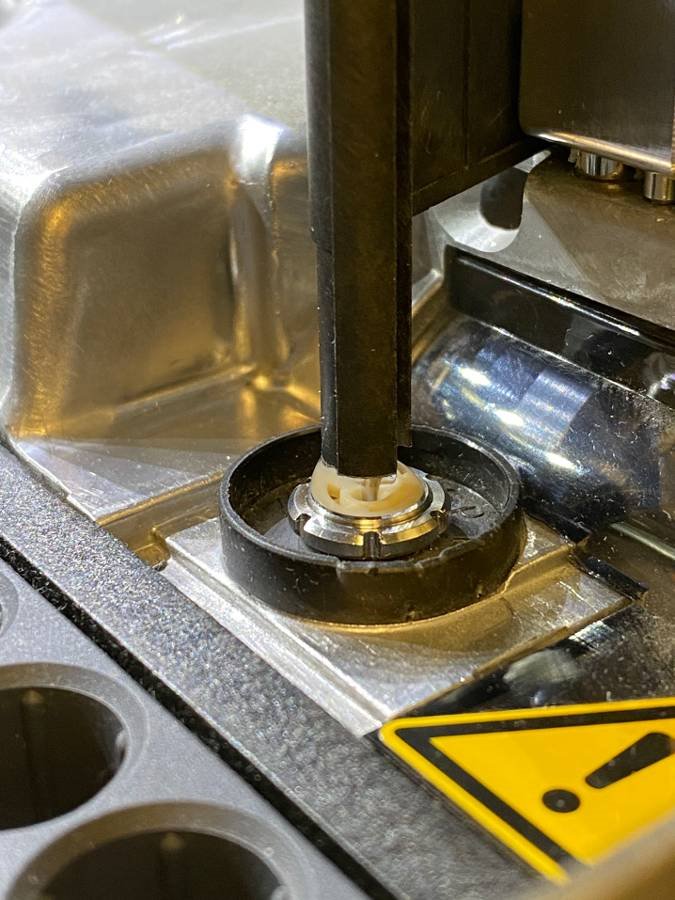
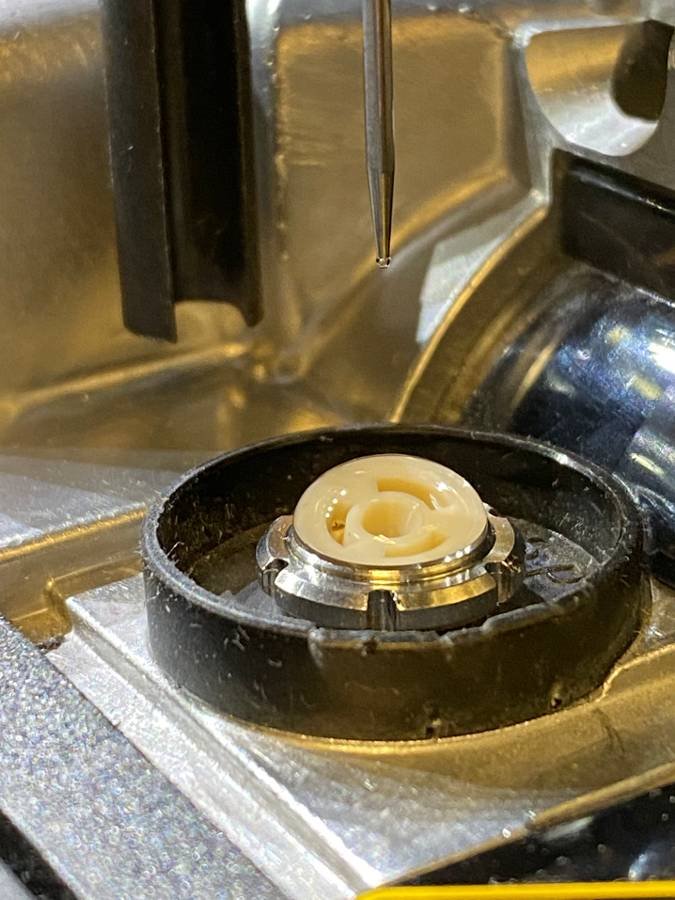
Hi, I am currently using a 1260 ALS autosampler (6 port valve) on my HPLC system. However, every time I inject sample, or simply run my method at "mainpass" mode for the injection port, I can see a significant pressure drop and also leaking from the needle seat. I just changed a new needle seat, needle, rotor seal and isolation seal. But it is still leaking.


Has anyone seen similar problem before? And also, is there a pressure limit for the injection port? My back pressure is around 100 bar. Is that possible that the back pressure is too high that the injection port can not hold this pressure?


Thank you!

Parents
  • Hello! I have seen this issue before, and it is usually because the needle is not seated low enough in the assembly, and therefore the connection between needle and seat is not sealing properly. I would suggest going through the steps of replacing the needle in Lab Advisor, and loosen the screw that holds the needle in place, and push down on the upper end that looks like a union while re-tightening the screw. It does not need to be with a lot of force, you just want to be sure it is just about flush with the assembly. Also ensure the vertical part of the needle is well seated in the groove at the top, which helps with alignment.


    Be sure to use Lab Advisor (or the Instant Pilot) to replace the needle and/or seat, as it gives you the option to finely adjust the separation distance between needle and seat. I have heard of people replacing the needle when in the fully down/sealed position, but this is not correct and will lead to a lot of trouble.


    Please let me know if this helps,


    Chris

Reply
  • Hello! I have seen this issue before, and it is usually because the needle is not seated low enough in the assembly, and therefore the connection between needle and seat is not sealing properly. I would suggest going through the steps of replacing the needle in Lab Advisor, and loosen the screw that holds the needle in place, and push down on the upper end that looks like a union while re-tightening the screw. It does not need to be with a lot of force, you just want to be sure it is just about flush with the assembly. Also ensure the vertical part of the needle is well seated in the groove at the top, which helps with alignment.


    Be sure to use Lab Advisor (or the Instant Pilot) to replace the needle and/or seat, as it gives you the option to finely adjust the separation distance between needle and seat. I have heard of people replacing the needle when in the fully down/sealed position, but this is not correct and will lead to a lot of trouble.


    Please let me know if this helps,


    Chris

Children
No Data
Was this helpful?